Product
|
Ingredients
|
Recipe
|
Prospector's Eyeglass
| Glass
Stick
|  |
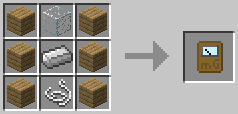
Magnetometer
|
6 Wooden Planks
Glass
Iron Ingot
String
|
 |
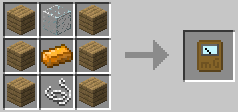
Magnetometer - Alternative recipe when
copper ingots available
|
6 Wooden Planks
Glass
Copper Ingot
String |
 |
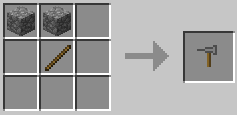
Prospecting Pick
|
2 Cobblestone
Stick
|
 |
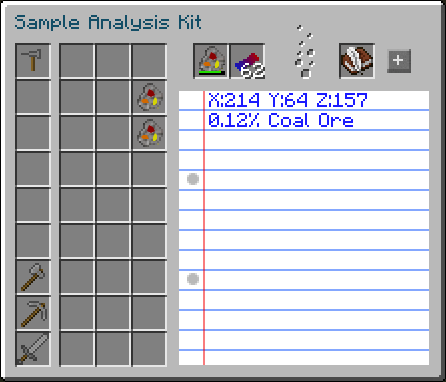
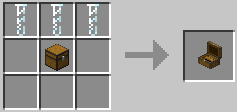
Geological Sample Analysis Kit
|
3 Test Tubes
Chest
|
 |
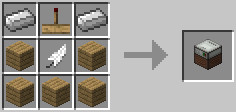
Test Tube
|
2 Glass Blocks
|
 |
Litmus Paper
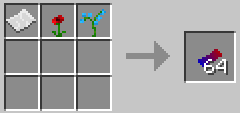
|
Paper
Poppy or Rose
Azure Bluet or Blue Orchid
|
 |
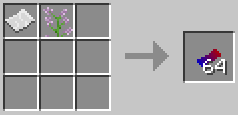
Paper
Lilac or Allium
|
 |
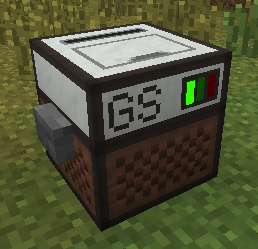
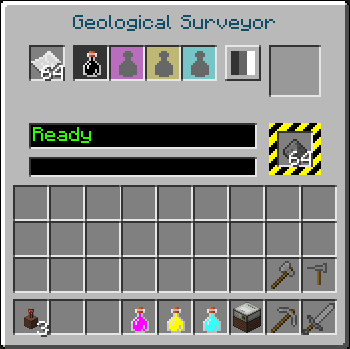
Geological Surveyor
|
2 Iron Ingots
4 Wooden Planks
Redtooth Receiver
Feather
|
 |
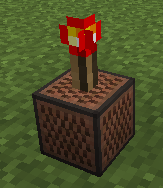
Geophone
|
Redtooth Transmitter
Sow's Ear
|
 |
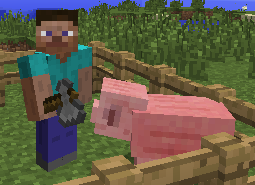
Sow's Ear
|
Kill a pig with an axe
|
 |
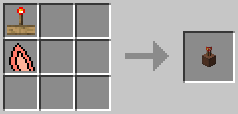
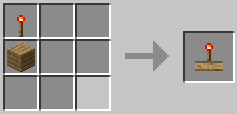
Redtooth Transmitter
|
Redstone Torch
Wooden Planks
|
 |
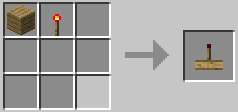
Redtooth Receiver
|
Redstone Torch
Wooden Planks |
 |
Black Ink
|
Water Bottle
Ink Sac
|
 |
Magenta Ink
|
Water Bottle
Magenta Dye
|
 |
Yellow Ink
|
Water Bottle
Yellow Dye
|
 |
Cyan Ink
|
Water Bottle
Cyan Dye
|
 |
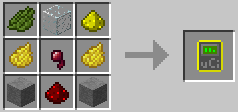
Naquadah Detector
|
Green Dye
Glass
Glowstone Dust
2 Yellow Dye
Spider Eye
2 Stone
Redstone Dust
|
 |